
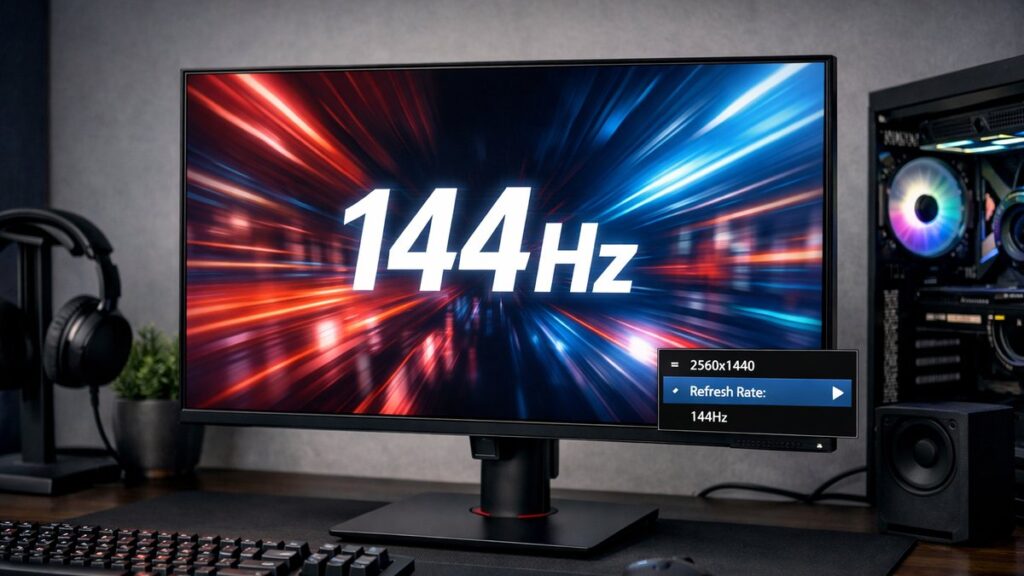
Enable 144Hz on Your ViewSonic 2K Monitor: Complete Guide
Getting 144Hz out of a ViewSonic 2K monitor requires the right combination of cable, GPU settings, and Windows configuration. Miss any one step and you’ll be capped at 60Hz without realizing it. This guide covers every layer of the process.
Before You Start: System Requirements Checklist
- ✅ ViewSonic 2K monitor with 144Hz+ capability (e.g., VX2758-2KP-MHD, XG2706-2K)
- ✅ GPU with DisplayPort 1.2 or HDMI 2.0 output
- ✅ Compatible high-bandwidth cable (see section below)
- ✅ Up-to-date GPU drivers
- ✅ Windows 10/11 or Linux with proper driver support
- ⚠️ HDMI 1.4 will NOT support 2K 144Hz
- ⚠️ Some USB-C adapters cap bandwidth — avoid generic ones
- ⚠️ Older GPUs (pre-GTX 900 series) may not output 2K at 144Hz
- ⚠️ Integrated graphics rarely support 144Hz at 2K resolution
- ⚠️ Confirm your specific ViewSonic model’s max refresh rate in the spec sheet
Cable Selection: The Most Common Bottleneck
| Cable Type | Max Bandwidth | 2K 144Hz Support | Recommended? |
|---|---|---|---|
| DisplayPort 1.2 | 17.28 Gbps | ✅ Yes | ⭐ Best choice |
| DisplayPort 1.4 | 32.4 Gbps | ✅ Yes | ⭐ Best choice |
| HDMI 2.0 | 18 Gbps | ✅ Yes (2560×1440) | ✅ Good |
| HDMI 2.1 | 48 Gbps | ✅ Yes | ✅ Good |
| HDMI 1.4 | 10.2 Gbps | ❌ No (60Hz max at 2K) | ❌ Avoid |
| DVI-D Dual Link | ~9.9 Gbps | ❌ No | ❌ Avoid |
| USB-C (DP Alt Mode 1.2+) | 17.28 Gbps | ✅ Yes (cable-dependent) | ⚠️ Verify specs |
Always use the cable that came in the box or a certified DisplayPort 1.2+ cable. Generic or older cables may physically fit but silently limit bandwidth, causing the monitor to fall back to 60Hz.
Step-by-Step: Enable 144Hz in Windows
Method 1 — Windows Display Settings
- Right-click the desktop → Display settings
- Scroll down to Advanced display
- Select your ViewSonic 2K monitor from the dropdown (if multiple monitors)
- Under “Choose a refresh rate”, select 144Hz (or 165Hz if your model supports it)
- Click Keep changes when prompted
If 144Hz does not appear in the list, the bottleneck is almost always the cable or the GPU output port — not Windows itself.
Method 2 — NVIDIA Control Panel
- Right-click desktop → NVIDIA Control Panel
- Navigate to Display → Change resolution
- Select the ViewSonic 2K monitor
- Under Resolution, confirm it is set to 2560 × 1440
- In the Refresh rate dropdown, select 144Hz
- Click Apply → Yes to confirm
Method 3 — AMD Radeon Software
- Right-click desktop → AMD Radeon Software
- Go to Display tab
- Locate your ViewSonic monitor
- Click the Custom Resolutions button if 144Hz is not listed natively
- Set refresh rate to 144 and resolution to 2560 × 1440
- Click Create and then Apply
ViewSonic OSD Settings to Verify
Some ViewSonic models require you to confirm or unlock high refresh rate from the monitor’s On-Screen Display (OSD) menu — not just from Windows.
| OSD Setting | Where to Find It | Recommended Value |
|---|---|---|
| Response Time / MPRT | Image Quality menu | Ultra Fast or Advanced |
| AMD FreeSync / Adaptive Sync | Display menu | Enable (if using AMD GPU) |
| NVIDIA G-Sync Compatible | Display menu | Enable (if using NVIDIA) |
| Input Source | Main / Input menu | Match your physical cable (DP or HDMI) |
| Overdrive | Image Quality menu | Medium (start here, adjust for ghosting) |
Popular ViewSonic 2K 144Hz Models at a Glance
[amazon_rapid query=”ViewSonic 2K 144Hz monitor” brand=”ViewSonic” layout=”magazine” cols=”2″ country=”US” lang=”en_US” max_pages=”1″ per_page=”4″ sort_by=”RELEVANCE” show_variants=”0″]
| Model | Panel | Max Refresh Rate | Best Input for 144Hz | FreeSync / G-Sync |
|---|---|---|---|---|
| VX2758-2KP-MHD | IPS | 144Hz | DisplayPort 1.2 | FreeSync, G-Sync Compatible |
| XG2706-2K | IPS | 165Hz | DisplayPort 1.4 | FreeSync Premium, G-Sync Compatible |
| XG2431 | IPS (Fast) | 240Hz (1080p) | DisplayPort 1.4 | FreeSync Premium |
| VX2728J-2K | IPS | 180Hz | DisplayPort 1.4 | FreeSync Premium |
| XG272-2K | IPS | 165Hz | DisplayPort 1.4 | FreeSync Premium Pro |
Troubleshooting: 144Hz Not Showing or Not Working
144Hz Missing from Windows
- 🔌 Swap to a DisplayPort cable (rule out HDMI 1.4)
- 🔄 Update GPU drivers to latest version
- 🖥️ Try a different port on the GPU
- ♻️ Restart PC after cable change
- 📋 Check monitor spec sheet — confirm model supports 2K 144Hz
144Hz Shows But Display Looks Wrong
- 🎨 Check color depth — set to 8-bit or 10-bit, not 12-bit (reduces bandwidth usage)
- 📡 Disable DSC (Display Stream Compression) if causing artifacts
- ⚡ Reduce Overdrive if ghosting or coronas appear
- 🔁 Toggle FreeSync/G-Sync off temporarily to isolate the issue
- 🧹 Uninstall old GPU drivers with DDU before reinstalling
How to Verify 144Hz Is Actually Active
- 🌐 Visit testufo.com in your browser — the UFO motion test visually confirms your current refresh rate
- 🖥️ Check Windows: Settings → System → Display → Advanced display → “Refresh rate” confirms the active value
- 🎮 In NVIDIA/AMD overlay or GeForce Experience, the GPU stats panel shows current refresh rate in real time
- 📺 ViewSonic OSD → Information menu → displays current input resolution and refresh rate reported by the monitor itself
Pro Tips for Stable High Refresh Rate Performance
Do
- ✔️ Always use the DisplayPort input for max refresh rate reliability
- ✔️ Keep GPU drivers updated monthly
- ✔️ Enable FreeSync or G-Sync Compatible for tear-free gameplay
- ✔️ Set Windows color depth to 8-bit when running 144Hz+ at 2K
- ✔️ Use the monitor’s included cable when possible
Avoid
- ❌ Using HDMI 1.4 cables expecting 144Hz
- ❌ Connecting through a KVM switch or USB hub with insufficient bandwidth
- ❌ Running 2K 144Hz through a GPU’s DVI port
- ❌ Mixing FreeSync range and a G-Sync module simultaneously
- ❌ Ignoring monitor OSD — some settings must be enabled there, not just in Windows
For the full display configuration process including color calibration, input setup, and firmware updates, return to ViewSonic 2K monitor setup hub.