
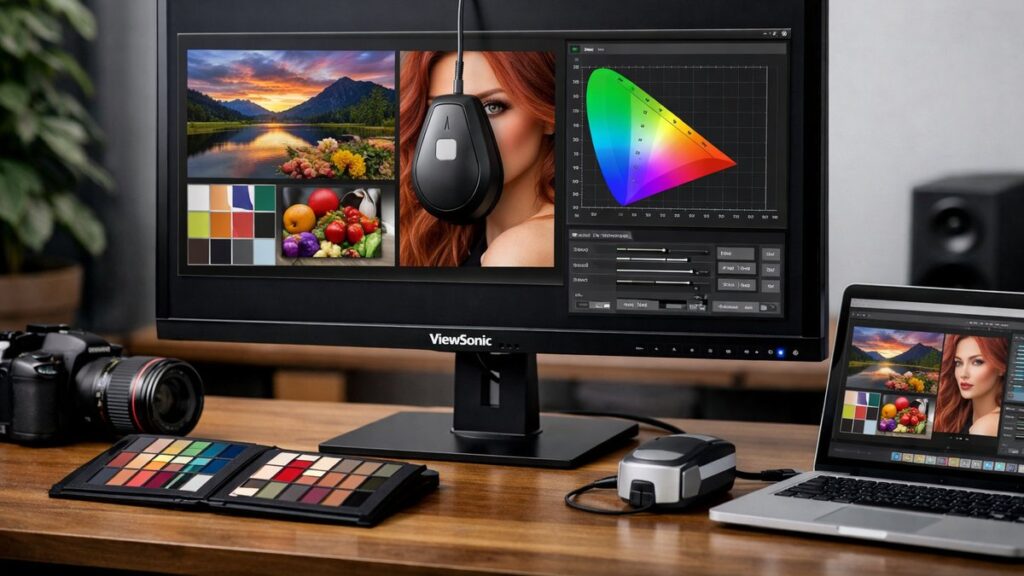
ViewSonic 2K Monitor Color Calibration: Complete Guide
Accurate color reproduction starts with proper calibration. Whether you’re editing photos, designing graphics, or just want a more faithful display, this guide walks you through every calibration layer available on ViewSonic 2K monitors — from OSD presets to hardware colorimeter profiling.
Built-In Color Modes: Where to Start
ViewSonic 2K monitors ship with several preset color modes accessible directly from the OSD. Choosing the right starting point reduces the amount of manual correction needed.
| Color Mode | Best Use Case | Color Temp / Gamma |
|---|---|---|
| sRGB | Web design, office work, general use | 6500K / Gamma 2.2 |
| Adobe RGB | Print production, professional photo editing | 6500K / Gamma 2.2 |
| EBU / REC.709 | Video editing, broadcast content | 6500K / Gamma 2.4 |
| DICOM | Medical imaging reference | Calibrated white point |
| User | Custom calibration baseline | Fully adjustable |
| CAD/CAM | Technical design, engineering software | Enhanced contrast preset |
For most ViewSonic 2K monitor color calibration workflows, start with sRGB mode locked if your work targets screen output, or User mode if you need full manual control.
OSD Adjustments: Step-by-Step
The On-Screen Display gives you direct control over the parameters that most affect color accuracy. Follow this sequence for a clean manual calibration baseline.
Step 1 — Warm Up the Monitor
- Allow 30 minutes of warm-up time before any adjustments
- Set the room to its typical working lighting condition
- Display a neutral gray desktop background (RGB 128,128,128)
Step 2 — Set Brightness and Contrast
| Setting | Target Value | Notes |
|---|---|---|
| Brightness | 80–120 cd/m² | Match ambient light; lower for dark rooms |
| Contrast | 70–75 (OSD value) | Do not raise above clipping point |
| Black Level | 0 (Full Range) | Use Limited only for video output via HDMI |
Step 3 — Color Temperature
- Select User color temperature mode to unlock RGB gain sliders
- Target D65 (6500K) for most editing work
- For warmer environments or night work, D50 (5000K) is acceptable
- Avoid “Cool” or “Bluish” presets — they push blue channel gain too high
Step 4 — Gamma Adjustment
🎯 Gamma 2.2 — Standard for sRGB content, Windows environments, and most web/photography workflows
🎬 Gamma 2.4 — Recommended for video editing (REC.709/BT.1886) and darker viewing environments
Step 5 — Sharpness and Overdrive
- Set sharpness to 50 (midpoint) — avoid extremes that add artificial edge enhancement
- Set Response Time / Overdrive to Normal for color work (not Fast/Turbo — introduces overshoot artifacts)
- Disable DCR (Dynamic Contrast Ratio) — it breaks gamma consistency
ICC Profile Setup on Windows and macOS
After OSD calibration, an ICC profile tells your OS and color-managed applications how to interpret the monitor’s color output. This is essential for accurate ViewSonic 2K monitor color calibration in professional workflows.
Windows — ICC Profile Installation
- Download the ICC profile from ViewSonic’s support page for your specific model
- Right-click the .icm file → Install Profile
- Open Settings → Display → Advanced Display → Color Profile
- Select your monitor and assign the newly installed profile
- Verify in color-managed apps (Photoshop, Lightroom) under Edit → Color Settings
macOS — ICC Profile Installation
- Copy the .icc file to /Library/ColorSync/Profiles/
- Open System Settings → Displays → Color Profile
- Select the installed ViewSonic profile from the list
- Use ColorSync Utility to verify the profile’s white point and gamut mapping
💡 ViewSonic provides factory-measured ICC profiles for color-critical models (VP and ColorPro series). Always use the model-specific profile rather than a generic sRGB template.
Recommended Colorimeters for Hardware Calibration
For professional-grade accuracy, a hardware colorimeter measures your panel’s actual output and generates a custom ICC profile. This is the most reliable form of ViewSonic 2K monitor color calibration.
| Device | Best For | Software | Price Range |
|---|---|---|---|
| X-Rite i1Display Pro Plus | Professional photographers, colorists | i1Profiler | $$$ |
| Datacolor SpyderX Pro | Enthusiast photographers, video editors | Spyder software | $$ |
| Datacolor SpyderX Elite | Multi-monitor studios, print matching | Spyder Elite | $$$ |
| X-Rite ColorMunki Display | Entry-level professional work | ColorThink | $$ |
| Calibrite ColorChecker Display | All-round studio calibration | CCSS / i1Profiler | $$–$$$ |
Hardware Calibration Workflow
- Complete OSD adjustments (Steps 1–5 above) before running the colorimeter
- Set calibration targets: White Point D65, Gamma 2.2, Luminance 100–120 cd/m²
- Attach the colorimeter to the screen center and follow the software wizard
- Let the software measure 50–200+ color patches automatically
- Save and activate the generated ICC profile immediately
- Recalibrate every 4–6 weeks as backlight output drifts over time
[amazon_rapid query=”monitor colorimeter calibration” brand=”” layout=”magazine” cols=”2″ country=”US” lang=”en_US” max_pages=”1″ per_page=”4″ sort_by=”RELEVANCE” show_variants=”0″]
ViewSonic ColorPro Models: Factory Calibration Advantage
ViewSonic’s ColorPro lineup (VP series) ships with individual factory calibration reports and Delta-E measurements. These models are purpose-built for accurate color work and offer significant advantages over standard gaming or office panels.
✅ ColorPro Advantages
- Factory Delta-E ≤ 2 guarantee
- Hardware calibration via USB-C (select models)
- 99% sRGB / 95%+ DCI-P3 coverage
- Individual calibration report included in box
- ColoPro Wheel accessory for quick profile switching
⚠️ Standard Panel Limitations
- No factory calibration report
- Delta-E may exceed 3–5 out of box
- Limited to software-level ICC profiling
- Color temperature accuracy varies by unit
- May lack wide gamut coverage for print workflows
To discover which ViewSonic 2K model is best for color-accurate editing, discover which ViewSonic 2K model is best for color-accurate editing with a full specs and panel comparison.
Common Calibration Mistakes to Avoid
| Mistake | Why It Hurts | Fix |
|---|---|---|
| Calibrating cold (under 30 min warmup) | Backlight color shifts until stable temperature | Always warm up 30+ minutes first |
| Using Dynamic Contrast (DCR) | Gamma changes dynamically, destroying consistency | Disable DCR before any calibration |
| Setting brightness too high | Eye fatigue, clipping in highlights | Target 100–120 cd/m² for editing |
| Ignoring ambient light changes | Perceived color shifts with different lighting | Use consistent lighting or hood the monitor |
| Never recalibrating | Backlights drift — profile becomes stale | Recalibrate every 4–6 weeks |
| Using generic sRGB ICC profiles | Doesn’t match your specific panel’s actual output | Use model-specific or hardware-generated profile |
Quick Reference: Calibration Target Summary
| Parameter | Photography / Design | Video Editing | General Use |
|---|---|---|---|
| White Point | D65 (6500K) | D65 (6500K) | D65 or Native |
| Gamma | 2.2 | 2.4 (BT.1886) | 2.2 |
| Luminance | 100–120 cd/m² | 100 cd/m² | 120–150 cd/m² |
| Color Space | sRGB / Adobe RGB | REC.709 / DCI-P3 | sRGB |
| Delta-E Target | ≤ 2 | ≤ 2 | ≤ 3 |
| Recalibration | Every 4 weeks | Every 4–6 weeks | Every 2–3 months |
For a broader look at display settings, connectivity, and troubleshooting steps, explore more ViewSonic 2K monitor setup guides covering everything from resolution configuration to driver installation.